
[Title] [text TOC] [image TOC] [Site Search]
 [Donation]
[Donation]
[Donation]
| 4-End Straight Braiding |
|---|

| Materials | Tools |
|---|---|
|
Two colors of plastic lacing 3' long Key ring or zipper pull if desired |
Super Glue |
See the Braiding Chapter for more instructions, hints, tips, and ideas.
At first you will feel very awkward trying to get all the ends to cooperate. Just be patient. Make use of as many fingers as you can to hold the lace still. Don't forget that in a pinch you can use your mouth, too! Soon you will be braiding like a pro!
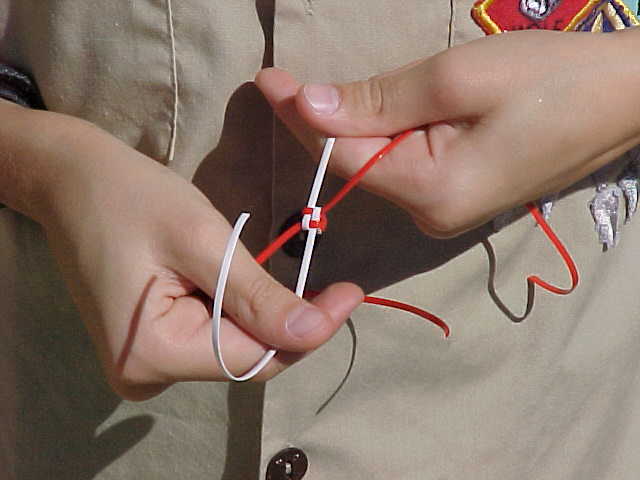
Find the middle of each piece of lacing. Hold the middle of the pieces between your thumb and pointer finger as shown in Figure 1. If you want to make a key chain or zipper pull, now is the time to put on the hardware. If you wait until after the project is made, it will be difficult to slide it under the braiding.
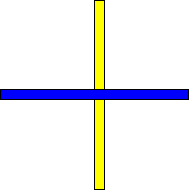
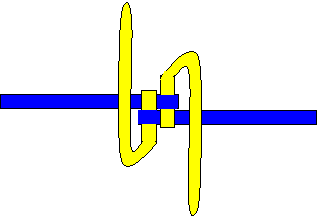
Take both ends of the lacing that is on the bottom (yellow) and wrap it over as shown in Figure 2. Hold one end of the lace between your pointer and tallman fingers. Hold the other between your pinkie and ring fingers.
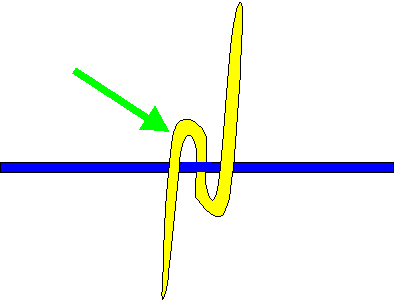
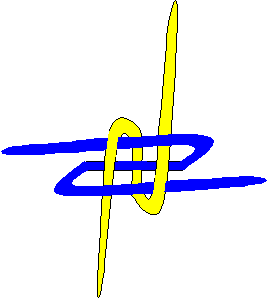
Next put the right hand lace over the first yellow lace and under the second (in the bend) as shown in Figure 3. Always remember to go over the first lace and under the second and into the bend.
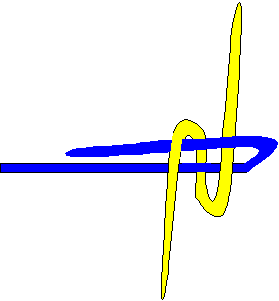
Do the same with the left lace as shown in Figure 4.
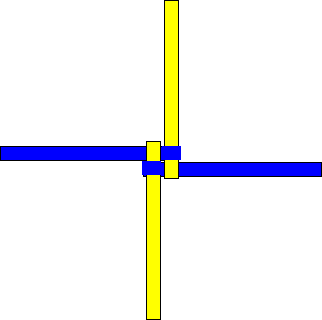
Pull all four ends to tighten the stitch. This is best done by grabbing one of the blue ends with each of your hands. Now take your thumb and pointer fingers and hold the yellow ends. Now pull all ways at once.
Now start the second stitch. Flip both ends of the yellow over. Keep the prior stitches tight at all times.
See the bends? That's what you aim for. Remember to go over the first lace and under the second. That locks the stitch tight.
Continue until either the project is as long as you want or there is only about three inches of lacing left.
The ending can be a bit tricky. To make an end like the project above, make the last stitch loose. Notice that the center forms a small square. Take each end in turn starting with the shortest. Wrap it around the next lace of the opposite color and then poke it up through the center of the small square. When you have done this to all ends, pull them all tight - one at a time. Go over pulling them tight several times to make sure all slick it out. If at first you don't succeed in making the end, just undo it and try again. A drop of Super Glue can be used to hold it if necessary. Be careful, the glue will run down the project very easily.
A simpler ending can be made by simply tying the loose ends together in twos.
If you want a square end, add a drop of Super glue on the end and cut the ends off flush.
Make a neckerchief slide by tying the two ends together. Slide the ends of the lacing through the starting loops and secure with overhand knots. Super Glue the knots to lock the ends so they don't come loose.
Trim the ends to make it look neat.