
[Title] [text TOC] [image TOC] [Site Search]
 [Donation]
[Donation]
[Donation]
| Carrot |
|---|
| Materials | Tools |
|---|---|
|
Film Canister "D" PVC Ring Carrot Paperclip |
Knife Pliers Wire Cutters Hot Glue |
See the Found Chapter for more instructions, hints, tips, and ideas.
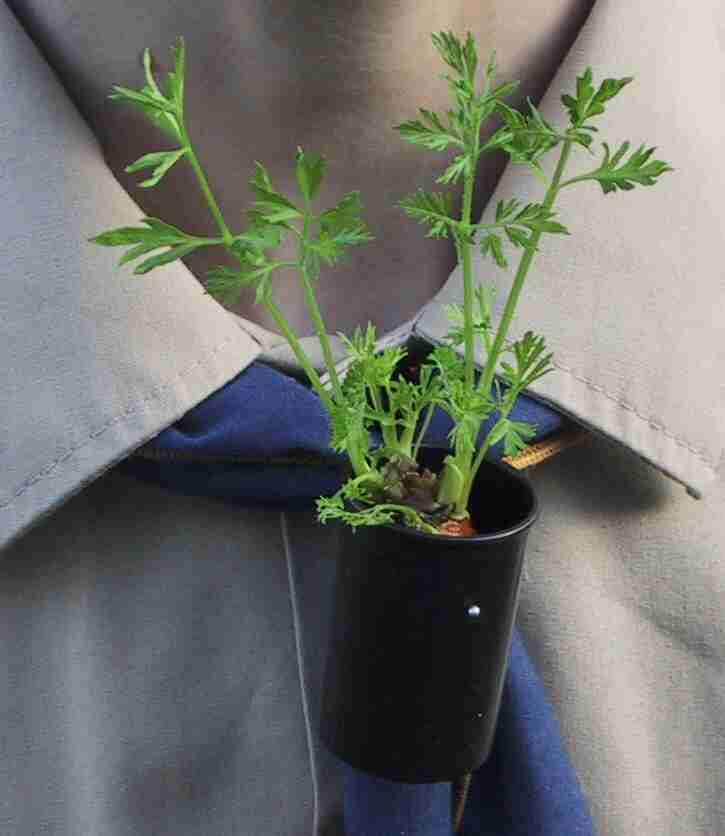
This is one of my den's favorite. The first time I wore it they were real tickled by it. If you let it get too big, you'll be tickled by it, too.
First, take a film canister and punch a few holes in the bottom for drainage. Use a leather hole punch or a nail. Place a round dowel into the canister for support while punching the holes. Then glue a "D" shaped PVC ring to the back using hot glue.
Start with a fresh carrot that has some green on top and is smaller in diameter than a film canister. Cut about an inch of the top off - don't peel it.
Now make something like a ladle so that you can lift the carrot out of the film canister to check its progress. See the illustration below. Bend a paperclip so that the orange part of the carrot is even with the top of the film canister. That is the paperclip should be as tall as the carrot. Cut off any extra paperclip. You want about 1/2" to stick into the carrot. Now stick the carrot onto the paperclip making sure that the carrot is against the vertical part of the paperclip. Slide paperclip and carrot into the film canister.
Leave it in a bright (not full sun) window for about two weeks. Make sure it always has water. Roots should start appearing after a couple days and leaves should start soon after that.
Notice that the more leaves the carrot has the faster it drinks water.
Hint: If you tilt the film canister so that the side with the ring on it is lower and facing away from the window, the carrot will grow out away from where it would tickle your neck.
To wear the carrot neckerchief slide, empty most of the water and bend the paperclip so it is below and hooks around the PVC ring.