
[Title] [text TOC] [image TOC] [Site Search]
 [Donation]
[Donation]
[Donation]
| Plaster |
|---|
 Candy Molds |
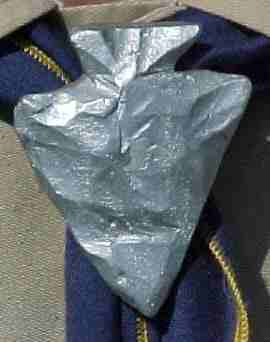 Arrowhead |
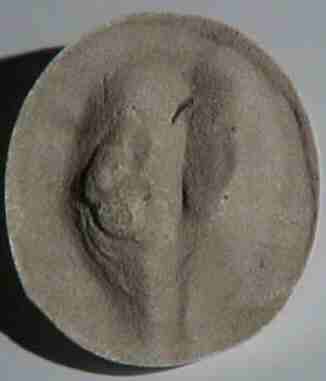 Track Casting |
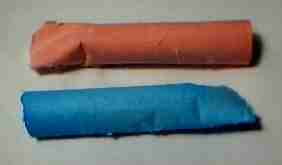 Sidewalk Chalk |
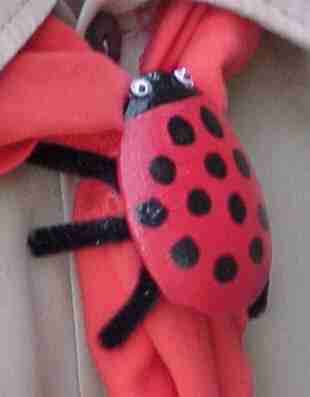 Ladybug |
Plaster is easy to use and widely available in craft and home improvement stores. Plaster of Paris is very inexpensive, but tends to chip very easily. You can add about one teaspoon of white glue to a cup of Plaster of Paris to help this (but don't add too much or it won't take paint very well). The object you are going to mold may have very delicate parts, like arms and legs that might need reinforcing. To reinforce a part, use a small piece of wire laid the length of the part. This is best done by pouring a small amount of plaster into the mold and allowing it to set up just enough that the wire won't sink to the bottom of the mold. Then add the wire and the remainder of the plaster.
Before you get started, be sure you have everything you will need ready at hand. You must be organized because plaster starts setting up within a couple of minutes of adding water. Things you will need include: disposable cup and spoon, plaster (and glue if desired), water, molds, PVC rings, wire (if needed), and some method to make molds lay flat.
Decide how much plaster you will need for your objects. Make a little extra just to make sure. If you measure how much water the mold holds and add plaster to that you are guaranteed to have enough. Put the water in a disposable cup, but make sure the cup isn't more than half full. Add plaster until the powder mounds up above the water. The Plaster of Paris above the water will become wet naturally as the water is soaked up into the powder. Wait until the powder is completely wet, then gently but thoroughly stir with a disposable spoon or Popsicle stick. The Plaster of Paris should be thick, but still pour easily. Stir to remove any lumps. If you stir vigorously, you will get air bubbles in it and they will make imperfections in your object.
Carefully pour the plaster into the mold. Tap the mold to encourage any air bubbles to release from the mold and float to the surface. The more watery the plaster the easier this is to do. Place reinforcing wires if necessary. Place the mold so that it sits flat. Block the whole mold up with pieces of wood so the mold sits flat. Always have a few extra molds on hand to use the extra plaster.
Allow the plaster to set up. This can take from a few minutes to an hour or so depending on the size of the object and the wetness of the plaster. If you try to remove it from the mold too soon, you risk breaking the object. Do not let it dry overnight in the mold, as it will be very difficult to remove. Once the object has set up, remove it from the mold by carefully bending the mold all around and gently pushing and pulling. Allow the object to completely harden and dry (a day or so depending on air humidity and object size). Then you can paint it with acrylic paint.
Plaster can be colored using instant powdered tempera paint or food coloring.
NEVER pour Plaster of Paris down a drain as it may clog it.