
[Title] [text TOC] [image TOC] [Site Search]
 [Donation]
[Donation]
[Donation]
| Clay |
|---|
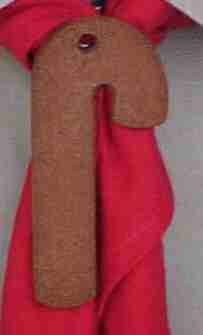
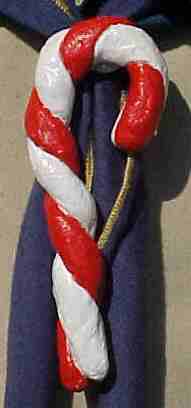 Candy Cane |
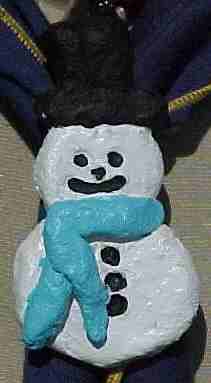 Snowman |
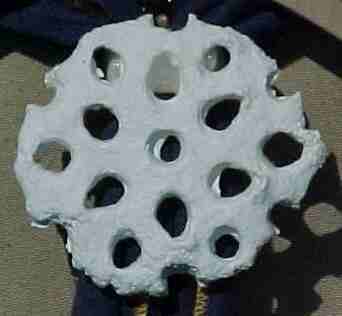 Snowflake |
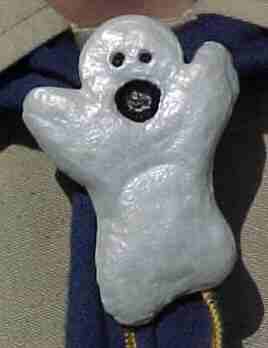 Ghost |
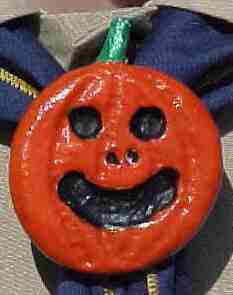 Jack-o-lantern |
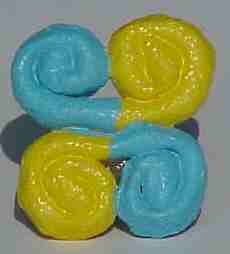 Geometric |
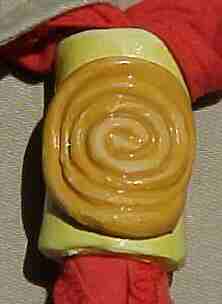
 Ornaments |
 Ceramics |
Although the section on ceramics is large enough to deserve its own chapter, I have included it here because of the similar techniques used and objects that can be made. Ceramics are best for 10 year olds and up. Use the clay recipes below for younger children.
Below are several recipes for clay or dough. The strengths and weaknesses of each are pointed out. Make the dough ahead of time and store in a zip-lock bag.
Use a knife, straw, toothpick, pencil, or stick to work clay. The tools work better if they are wet. Use a paintbrush and water to join pieces. Items may be painted with acrylic paint.
You can shape the clay into any form you want (see the examples above), or roll it flat with a rolling pin or sturdy cardboard tube and use cookie cutters.
To turn these projects into neckerchief slides, use a "D" shaped PVC ring and hot glue. Roughen up the back of the project and the ring with sandpaper. To make an ornament, attach a short piece of colored string or ribbon to the back with hot glue.
References:
Feed Me! I'm Yours by Vicki Lansky
Woman's Day Dough Crafts by Lorraine Bodger
Mix salt and water. Add vegetable oil and flour. Mix thoroughly and kneed. Once items are made, lay on aluminum foil in a cookie pan to dry thoroughly 2-3 days on one side, turn over and dry for another 1-2 days. Bake for several hours in a 250-degree oven.
You may experience some problems with the items bubbling up (thus destroying their shapes). The problem may be related to how moist the clay is when it is baked.
Mix salt and water in a pan, stir and boil. Add cornstarch and cold water. Stir until it gets thick. Make items and lay them on aluminum foil to dry. Allow them to dry thoroughly 2 to 3 days on one side then carefully turn them over for 1 or 2 more days.
This is a very coarse, sticky clay and thus is somewhat difficult to work with. However, the items are strong.
Stir ingredients into a saucepan. Heat and stir until mixture thickens. Cover with wet cloth until cool, then knead. Make items and lay them on aluminum foil to dry. Allow them to dry thoroughly 2 to 3 days on one side then carefully turn them over for 1 or 2 more days.
This clay is very fine and easy to work, but somewhat brittle.
Mix glue and applesauce in a bowl and stir. Add the cinnamon and mix. Then knead for several minutes. If it is too dry and crumbly, add a little applesauce. If it is too wet and sticky, add some more cinnamon. Make the items and lay them on paper to dry. It will take several days for them to dry thoroughly. In the beginning, turn them over frequently to keep them from curling up. Once they are completely dry, store them in a zip lock bag. Add a drop of oil of cinnamon to refresh the aroma.
The glue makes the items more durable. If you use teaspoons as the "parts" in the recipe, you will use a little more than an ounce of cinnamon. This is enough to make 3 or 4 small items like the cookie cutter ornaments.