[Title]  [text TOC]  [image TOC]  [Site Search]    [Donation] 

Previous Page 
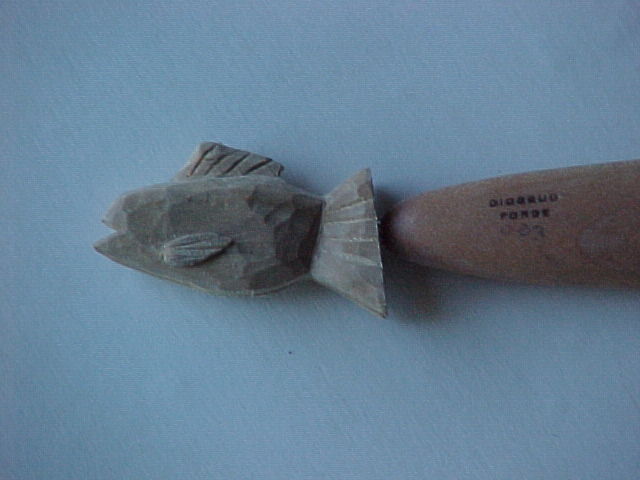
Carving Knife Sheath Next Page


Fish Sheath

Materials Tools
2 @ 2"x2"x1/4" basswood
Stick glue
Saw
Carving Knife
Wood glue
Clip/rubber band

See the Wood Carving section for more instructions, hints and tips.


Some people like to cover their knife blades and gouges with clear plastic tubing so they can see the tool. Others like to make sheaths from birch bark - you can substitute thin leather for the bark. Still others braid sheaths from rope for some of their thin gouges. But for straight blade knives many people like to practice their skills and be creative by carving a sheath.

Most of these are good beginner projects because with just a little work, they can get something that looks pretty good. Advanced carvers can get amazing results.

Using 1/4" wood for each side, the resulting object will be somewhat compressed or squished in depth. If you want, use 3/8" or 1/2" for a more three dimensional look.

The process is the same no matter which shaped wooden sheath you choose.

  1. Decide which design you want to use. Make a copy of the design in the size that you need. You may need to enlarge or reduce it. You'll want it to be about 1/4" longer and 1/2" wider than the blade.
  2. Start with two pieces of basswood larger than the design you have decided on. Usually you want the grain to run the length of the wood.
  3. Glue the design on the front of one piece of basswood using a glue stick - don't put it on the back yet. You may want to adjust the drawing slightly because the handle of some knives is at an angle where it meets the blade.
  4. Tape the two pieces of wood together.
  5. Use a scroll saw or coping saw to cut out the outline. You may have to retape them during the process.
  6. If necessary, glue the design on the back using a glue stick.
  7. Take the two halves apart. On the inside of one side, trace the outline of the blade you want to store in the sheath. Center the blade on the outline as best you can.
  8. Stop cut around the edge and remove a thin layer of wood. This will form a depression into which the blade will slide.
  9. Hold the two sides together and try to slide the knife inside. Make any adjustments as necessary until the blade slides in smoothly.
  10. Use a small amount of wood glue to glue the two halves together. Don't get any in the hollowed out area.
  11. Clamp the two halves together using large 1" binder clips or rubber bands.
  12. When the glue has dried, carve and paint as desired.
  13. If the blade is a bit too tight, just slide it in and out working it around until it fits properly. If the blade is too loose, insert a wood shaving chip.
Thumb    Ice Cream Cone    Gator

Fish    Arrowhead    Snowman

Penguin    Tree    Jack-o-Lantern

Mug    Boot    Snake

Pencil    Flower    Name

Candy Bar    Candle    Snail

Mushroom    Catepillar    Nail

Bowling Pin    Wooden Match    Woodpecker

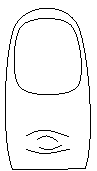
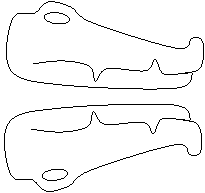
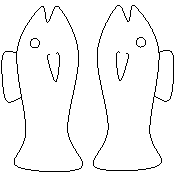
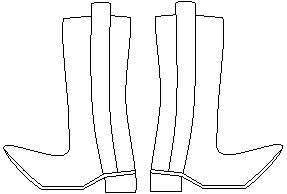
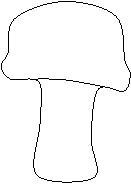
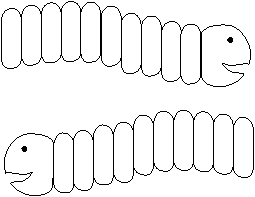
Some ideas for sheathes are: thumb, ice cream cone, gator, fish, arrowhead, snowman, penguin, tree, jack-o-lantern (or smiley face), mug, boot, snake head, pencil, flower, your name, your favorite candy bar, candle or firecracker, snail, mushroom, catepillar, nail, bowling pin, wooden match, and woodpecker.

Of course, any of these could be used as a neckerchief slide!


Copyright © 2007 Vincent Hale